
I may earn commission if you use my affiliate links to purchase products: More details.
While the open-source WordPress.org is a good self-hosted solution for starting an e-commerce website, it also comes with some hurdles, such as web hosting management, technical issues, or a lack of customer support.
There are a few managed WordPress hosting providers that offer customer support for self-hosted WordPress websites, but if you face any issues with your theme or your custom site, you will probably have to hire a developer to fix them.
WordPress.com takes care of everything, including security with constant updates to its software and your hosting needs, with the required storage space for your website.
Table of Contents
Why start an eCommerce Store on WordPress.com?
Unlike the open-source WordPress.org, WordPress.com is a privately held company by Automattic. However, they also update and maintain the open-source WordPress software as well.
Also, Gutenberg, a block editor, first arrived on WordPress.com before getting introduced as a default block editor on the open-source WordPress.
This makes them a perfect brand to help you start an e-commerce store or a WordPress Website using their platform.
With the open-source WordPress CMS (Content Management System), you have to purchase a web hosting server separately before you can install the CMS software on it. This takes a lot of research and time, or you need someone else to take care of it.
The best thing about WordPress.com, you don’t have to worry about the web hosting part. WordPress.com takes care of everything, with the basic Personal plan offering 6 GB storage, unlimited visitors, pre-built themes, etc.
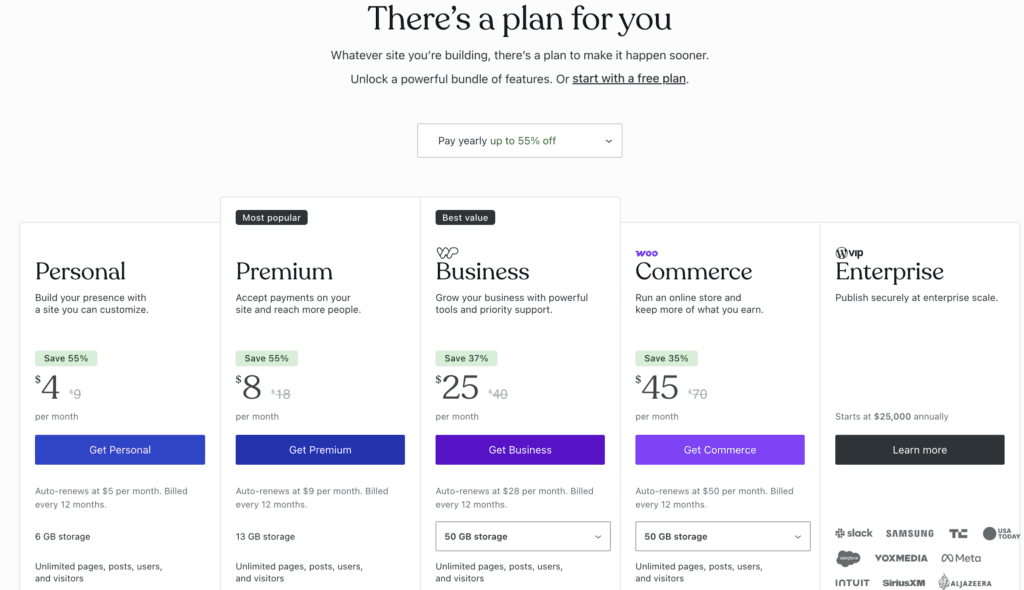
WordPress.com offers affordable pricing starting at $9 per month or $4/mo if paid annually, which is called the Personal plan, which includes a custom domain and all core features.
The Premium plan costs $18 per month or $8/mo on an annual purchase; the Business plan costs $40 per month or $25/mo on an annual payment, and the Commerce plan costs $70 per month or $45/mo on an annual purchase.
In this article, I will share the beginner’s guide to starting an Online store on WordPress.com. This guide will be useful if you’re a small business owner starting to build an e-commerce store to sell your products.
How to Create an Online Store on WordPress.com
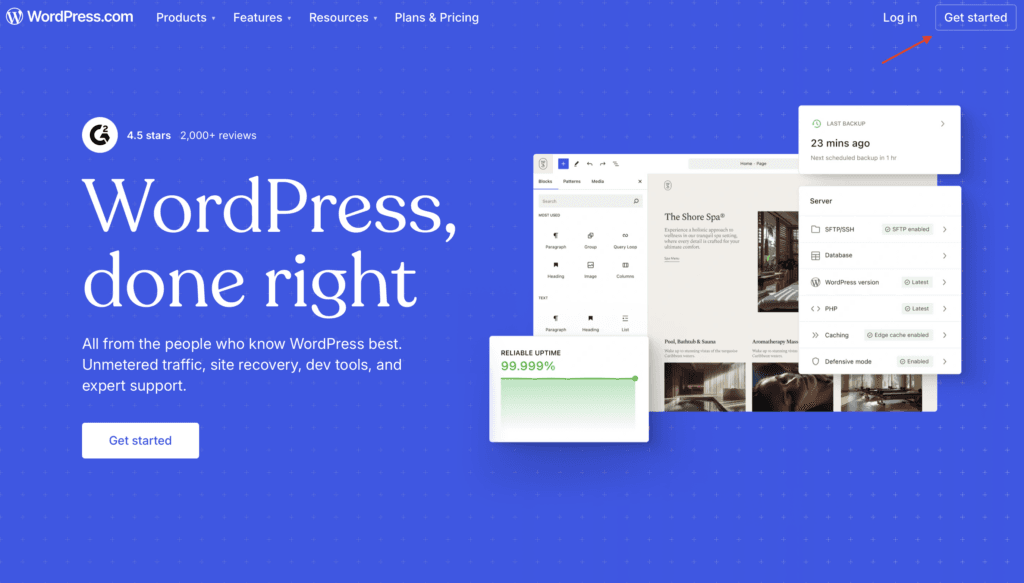
Go to the WordPress.com website and click on the Get Started button.
Now, you’ll be redirected to a new page where you can sign up for an account using any of the following options.
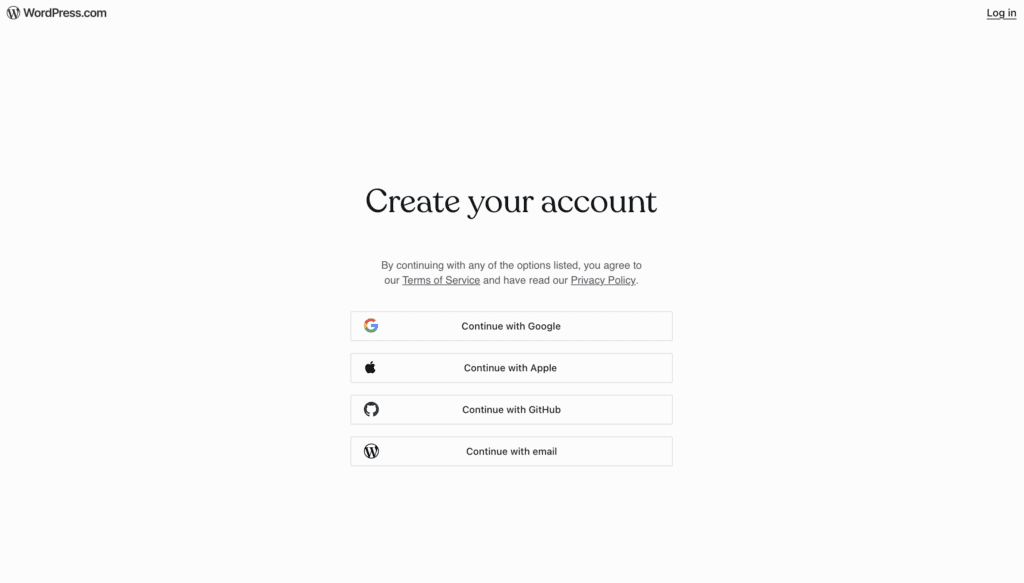
Once you’ve entered your email, an activation link will be sent to your email.
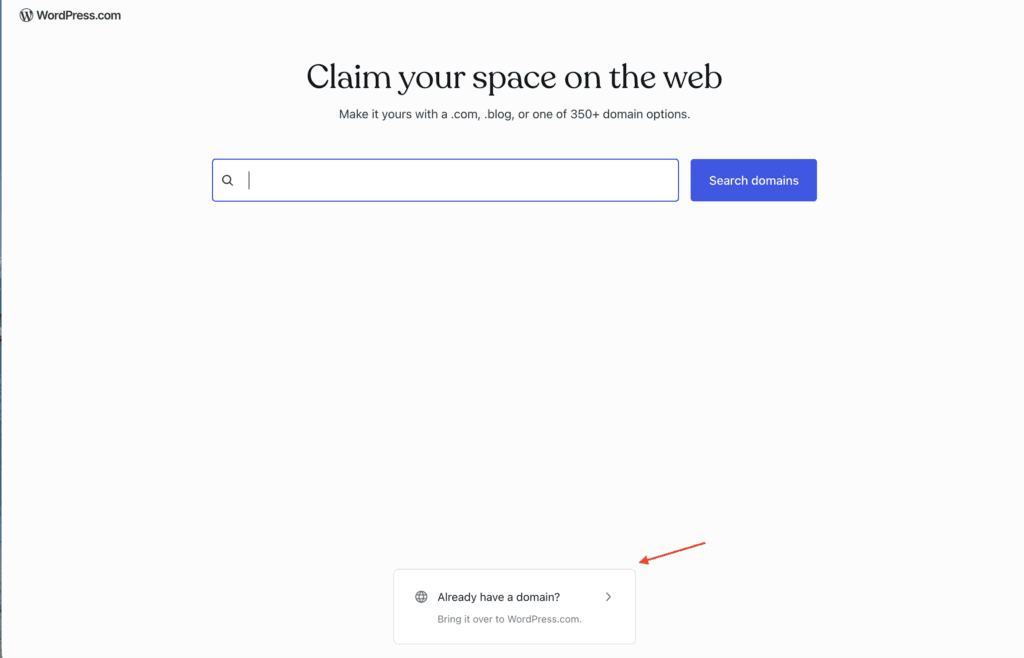
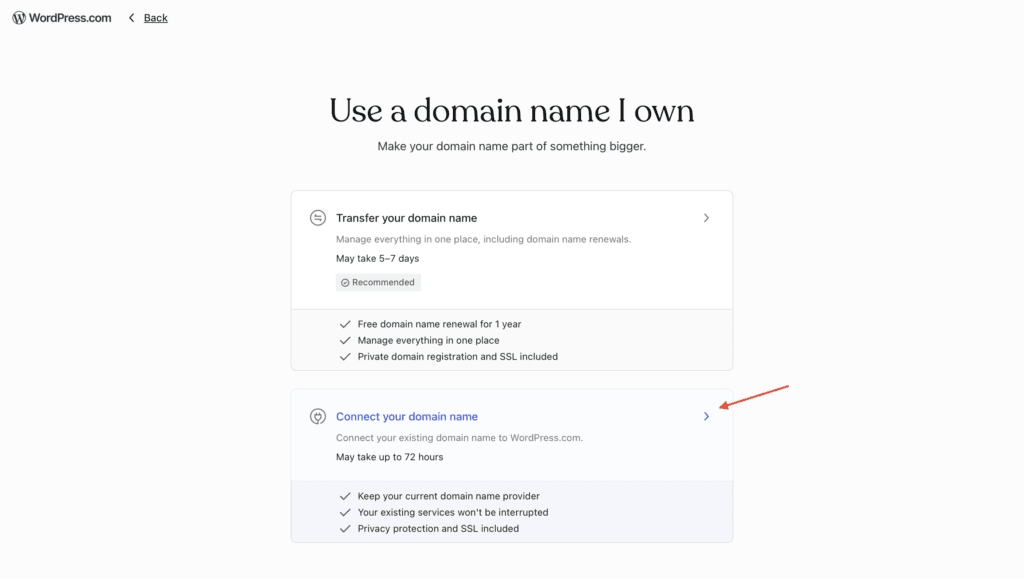
On the next prompt, you’ll be asked to search for domains or use an already existing domain. Since I already own a domain, I will be choosing the option below, but you can register a new available domain right on this page, or use any other domain registrar.
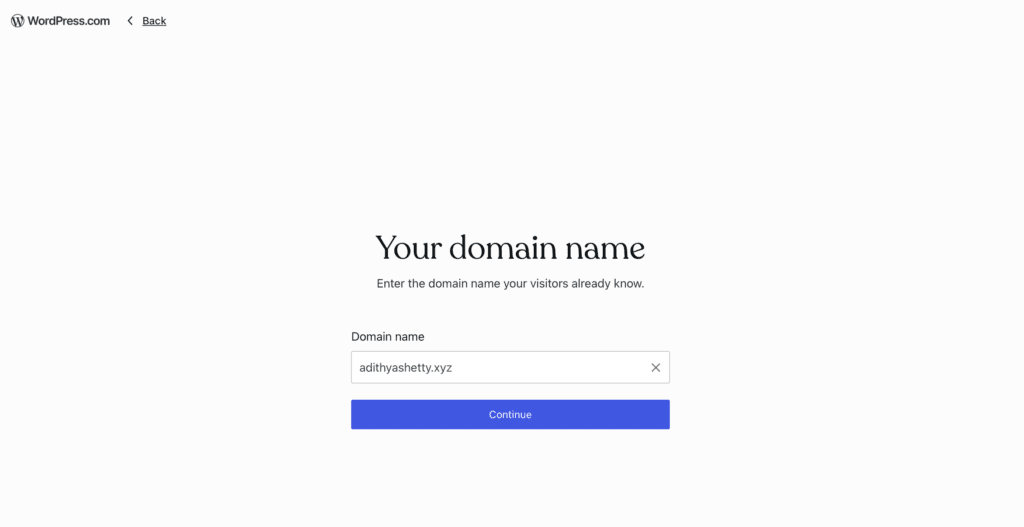
On the next prompt, enter your domain and click Continue.
Now, you will be redirected to the pricing page; choose the desired plan
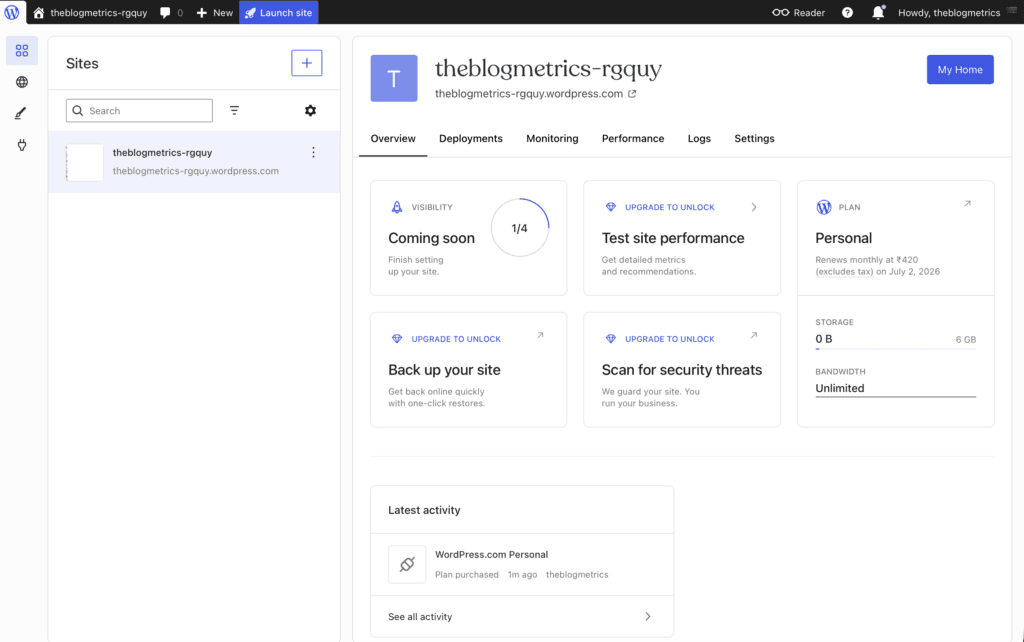
The WordPress.com dashboard will look like the screenshot below.
Connect the Domain Name with your Registrar
This step is not needed if you have purchased your domain name from WordPress.com. In my case, the domain name was registered with Namecheap, so I have to update the name servers on NameCheap.
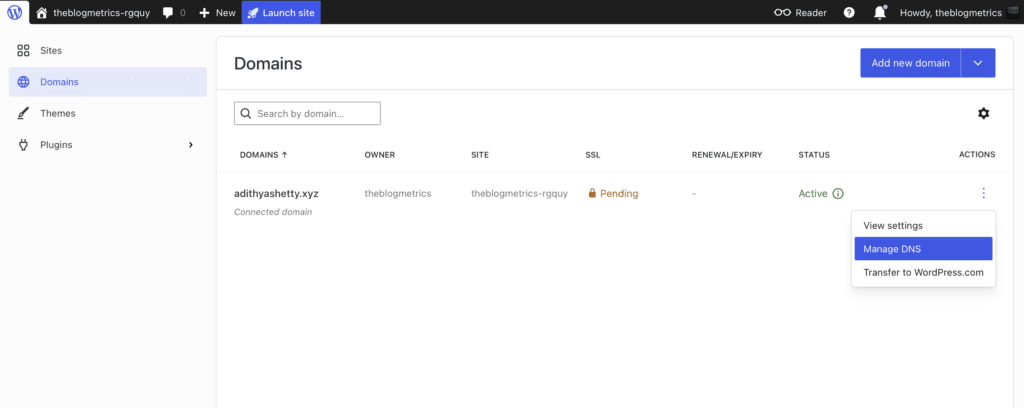
Click on the Domains option from the right corner, then click Manage DNS
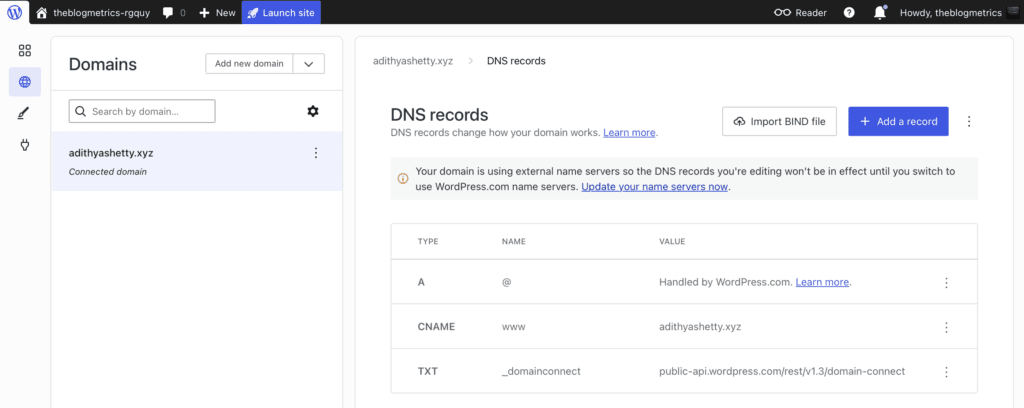
Next, click on Update your name servers now

WordPress.com will show its name servers; now you have to copy these and update them on your domain registrar.
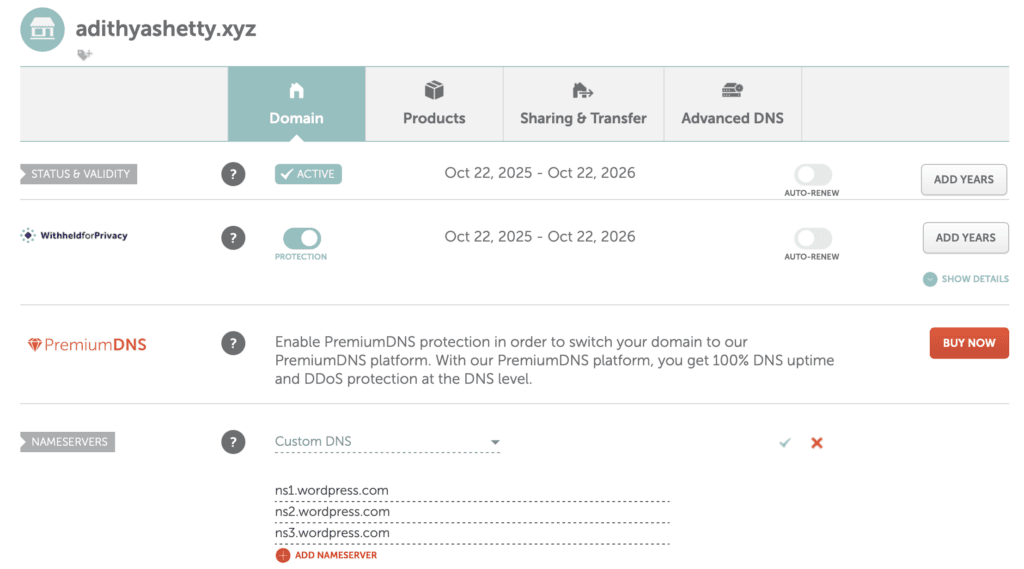
I have updated the WordPress.com name servers on NameCheap, as shown in the above screenshot.
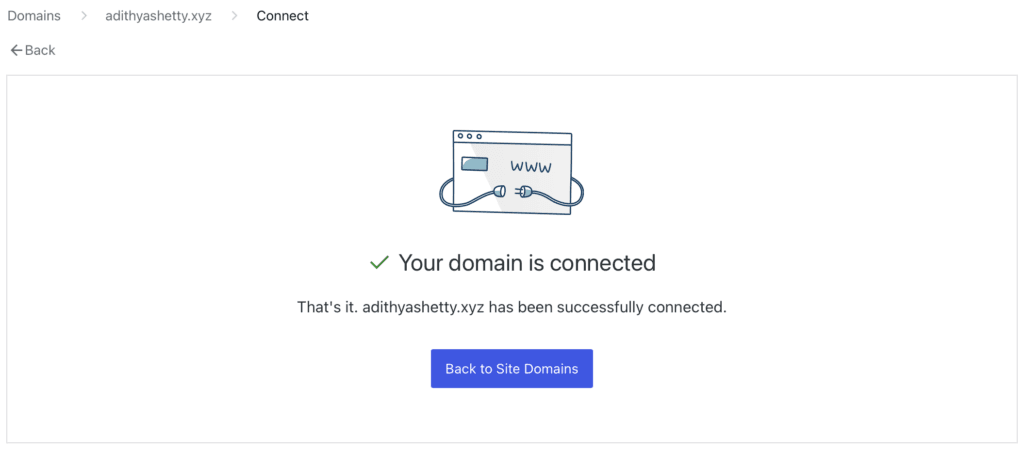
Once you’ve updated your name servers, come to the WordPress domains option and click Verify Connection. Sometimes it might take a few hours to get connected, but once you’re connected, you’ll see the above message.
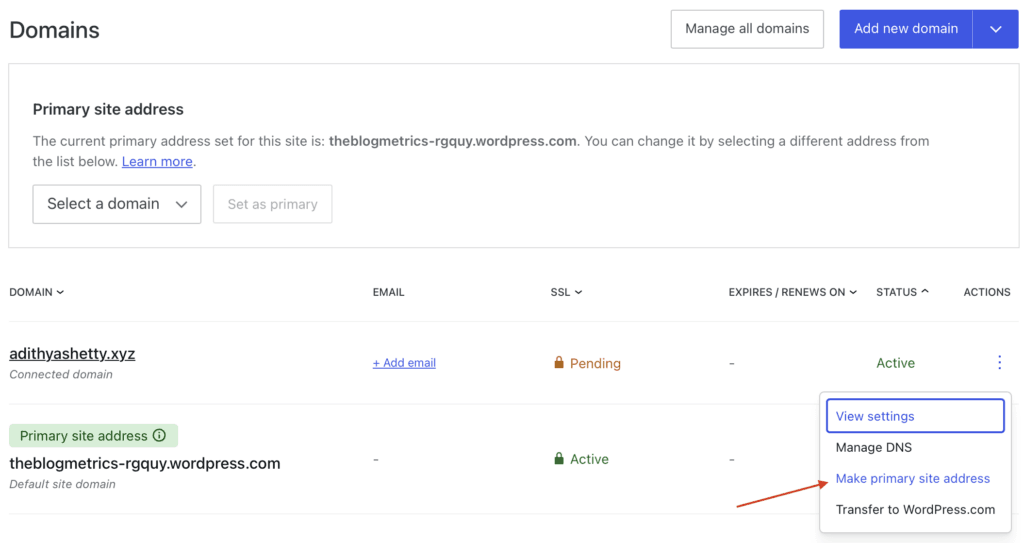
Now that we have connected, it’s time to change the primary site address to the domain name. Click on Make primary site address.
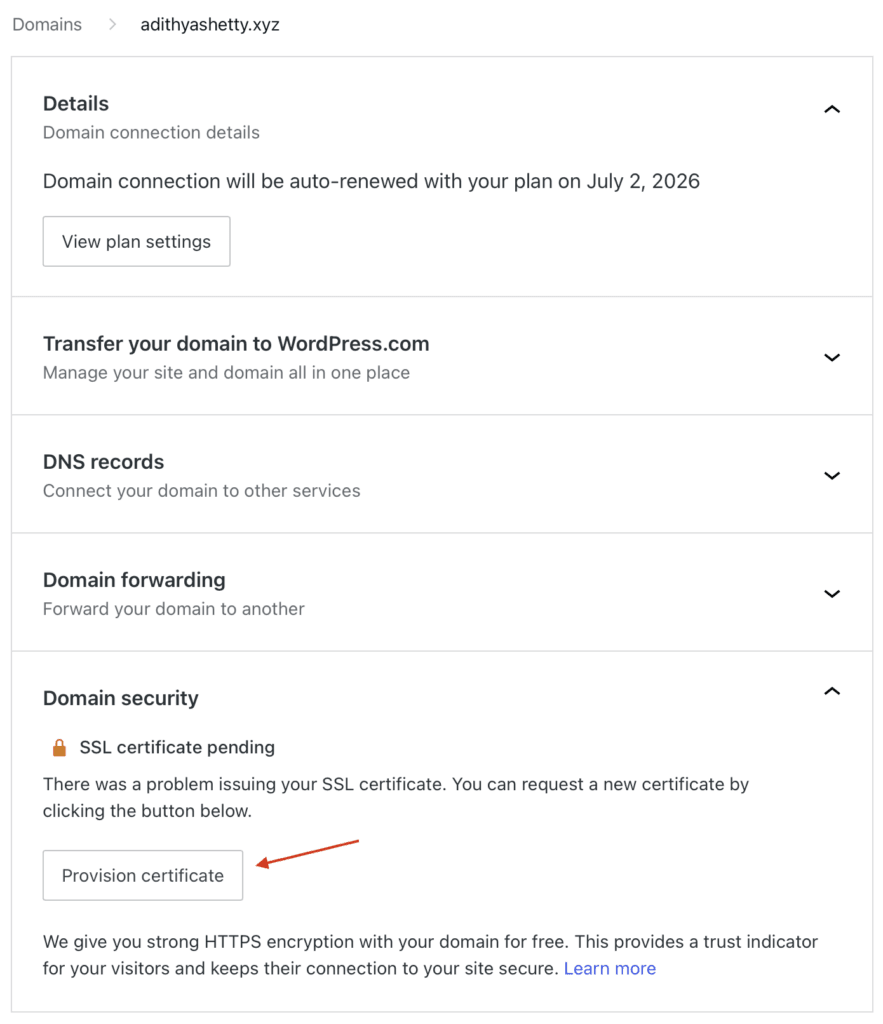
You need an SSL certificate for your website to protect sensitive data. Open the domain and click Provision certificate. It might take a while for the SSL certificate to get active.

Once the SSL is activated, you can access your website through the domain name you have just connected. On the WordPress dashboard, click on Launch your site. It’ll look similar to the above image.
Installing a Suitable Store Theme
While the default theme will just work fine, it’s a good idea to use the store theme specially built for an eCommerce website.
There are dozens of pre-made templates available based on your plan. However, in this example, I will use a free theme.
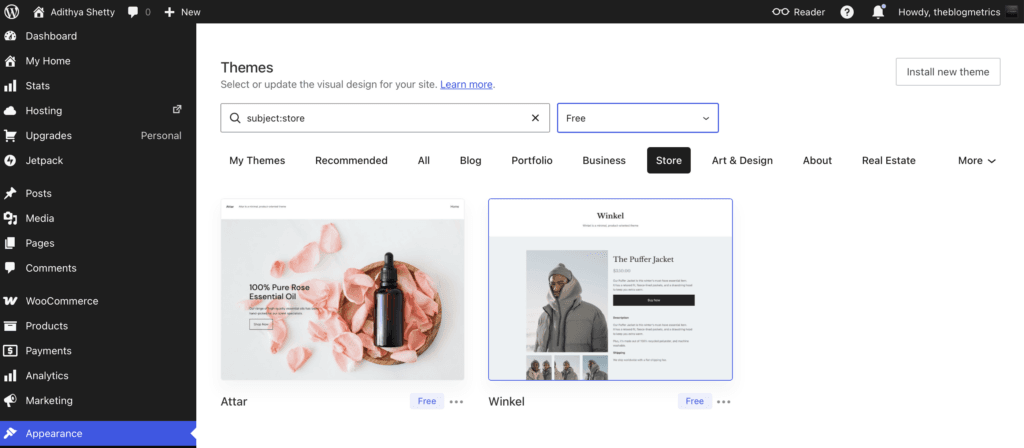
On your WordPress dashboard, click on Appearance, then Themes. Search for the Store theme.
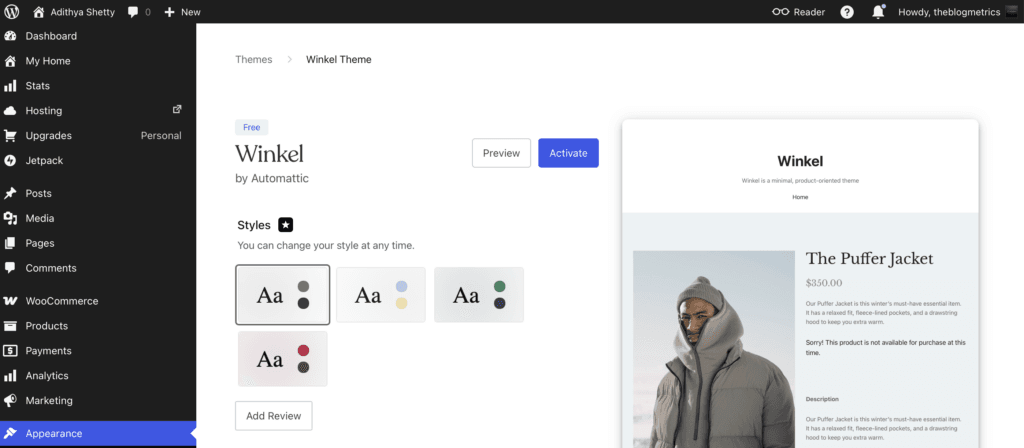
Once you pick your theme, click on it and then Activate.
Installing the WooCommerce plugin
WooCommerce is a powerful plugin (add-on) that will turn your simple website into an eCommerce store. Let’s install a free version of it.
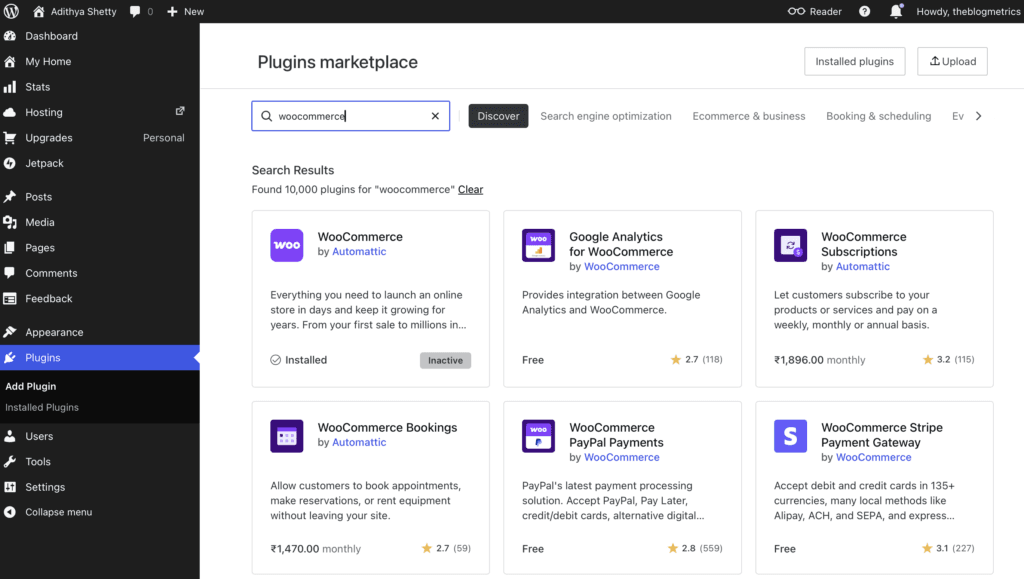
Search for the WooCommerce plugin, then click Activate. The WooCommerce plugin will automatically create necessary pages like Cart, Checkout, Shop, My Account, etc.

A WooCommerce setup wizard will open up; just proceed with the Set up my store option.
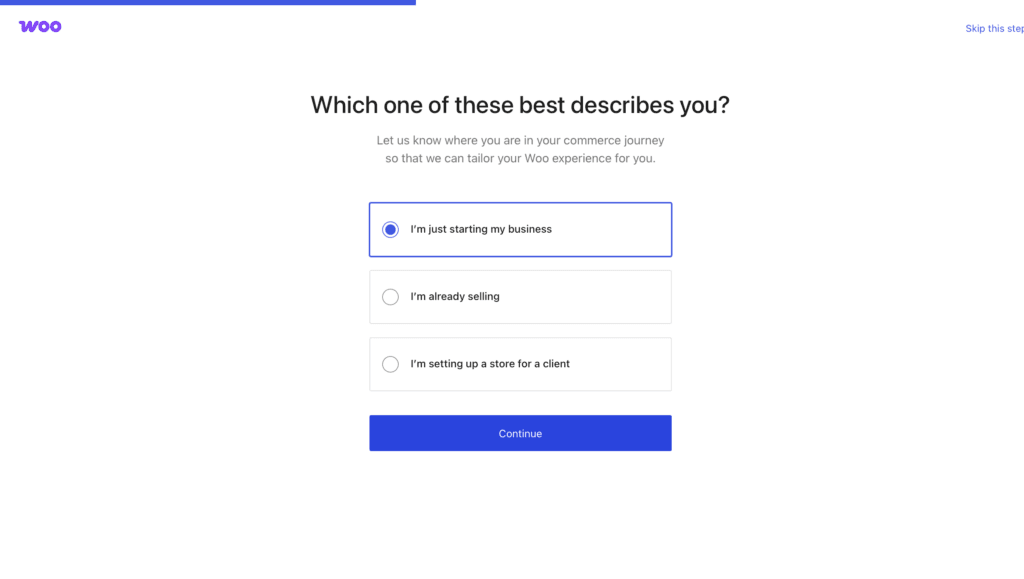
Select the suitable option for your business.
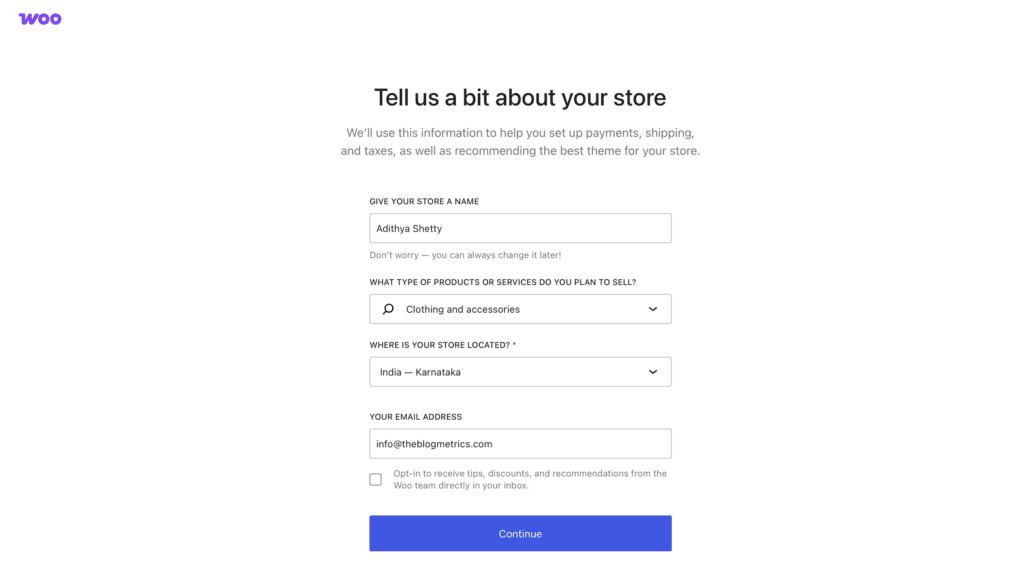
Here you can select the product you’re selling, location, etc.
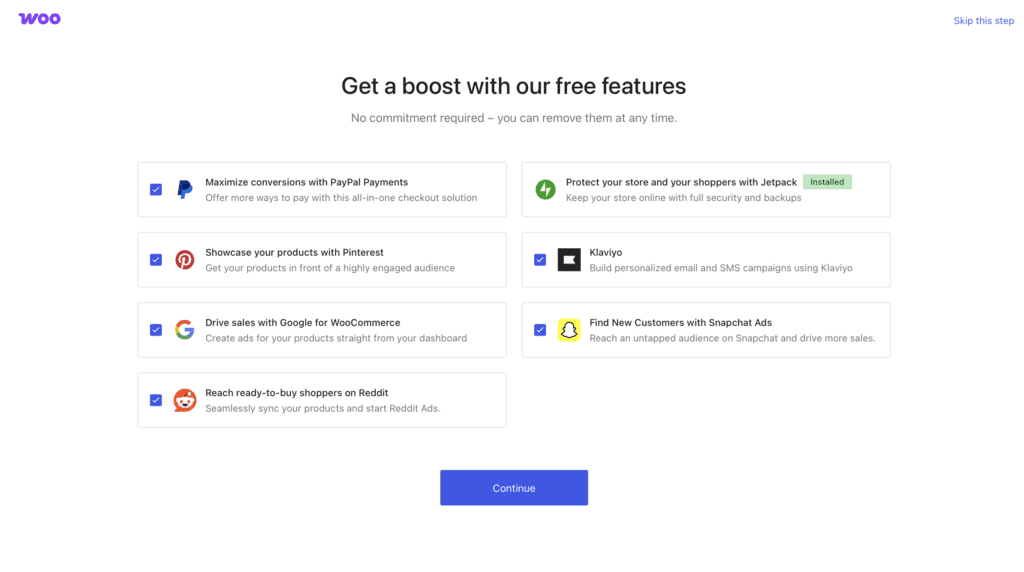
Here you can select the add-on features for your store.
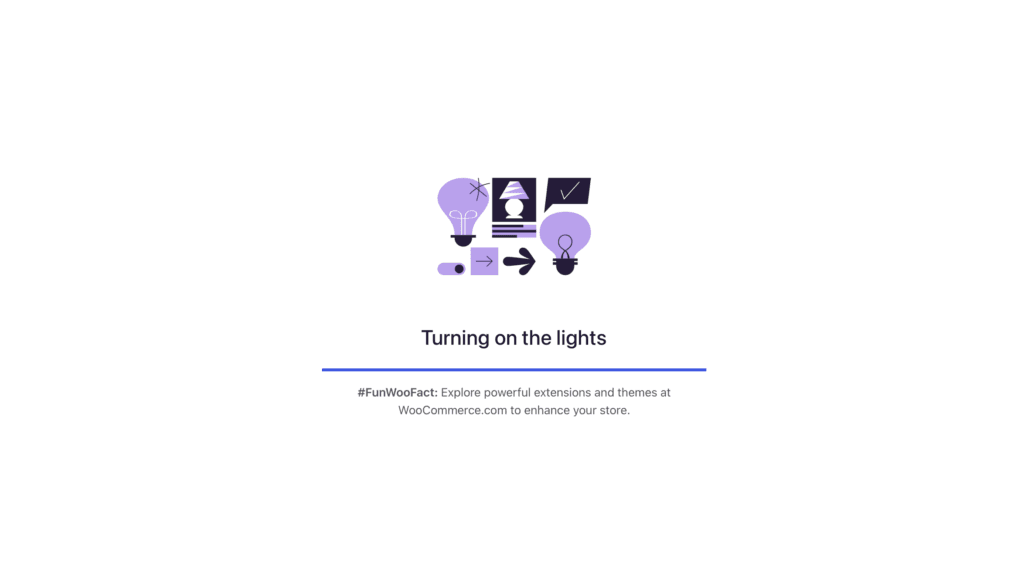
After the Setup Wizard, a new page will open up.
Add Products
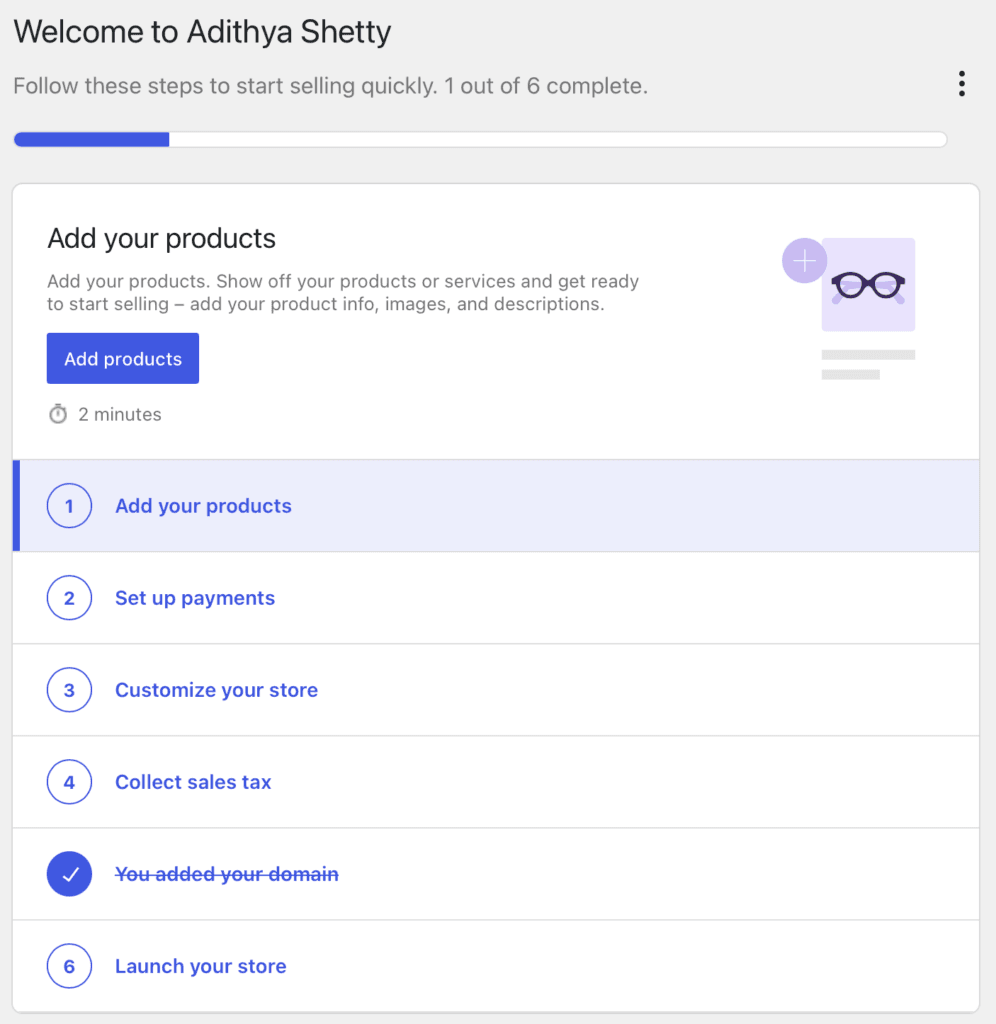
Click on Add Your Products
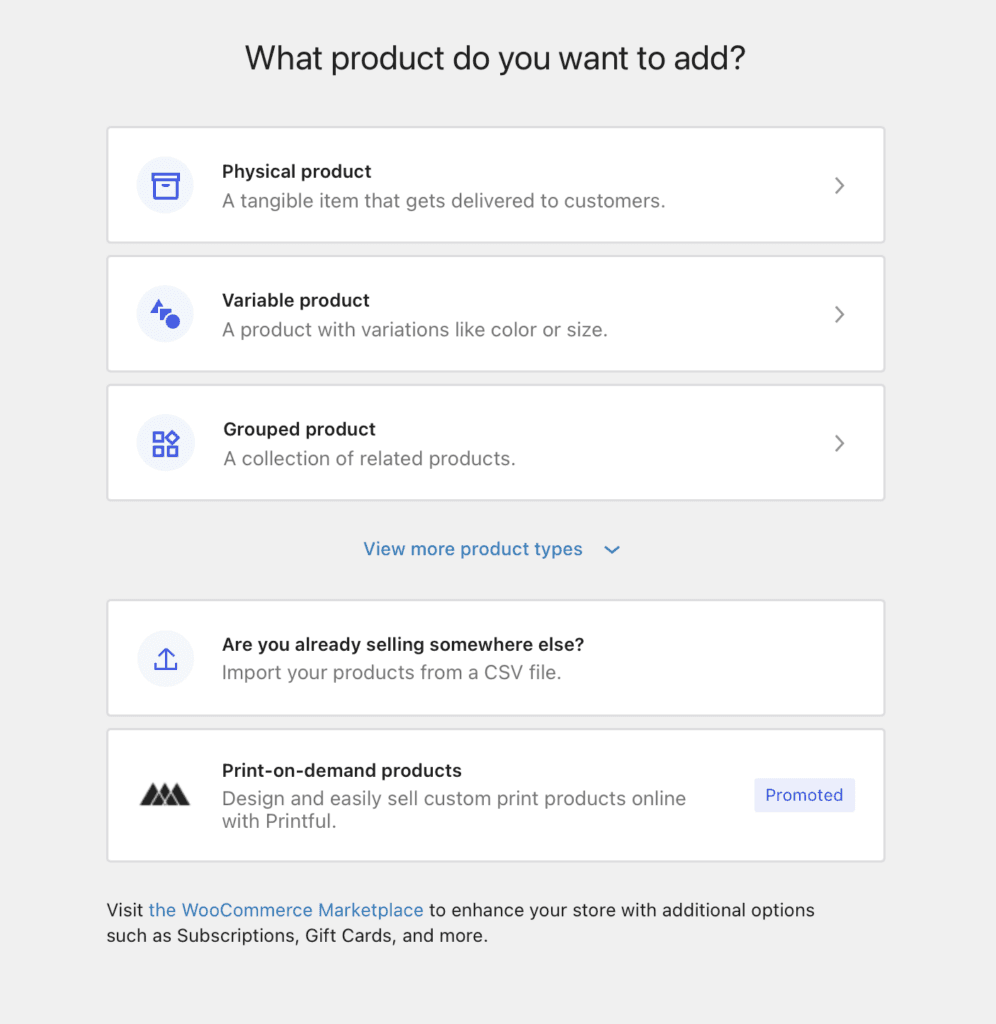
Here you can choose the product type; in this example, I will be picking the first option.
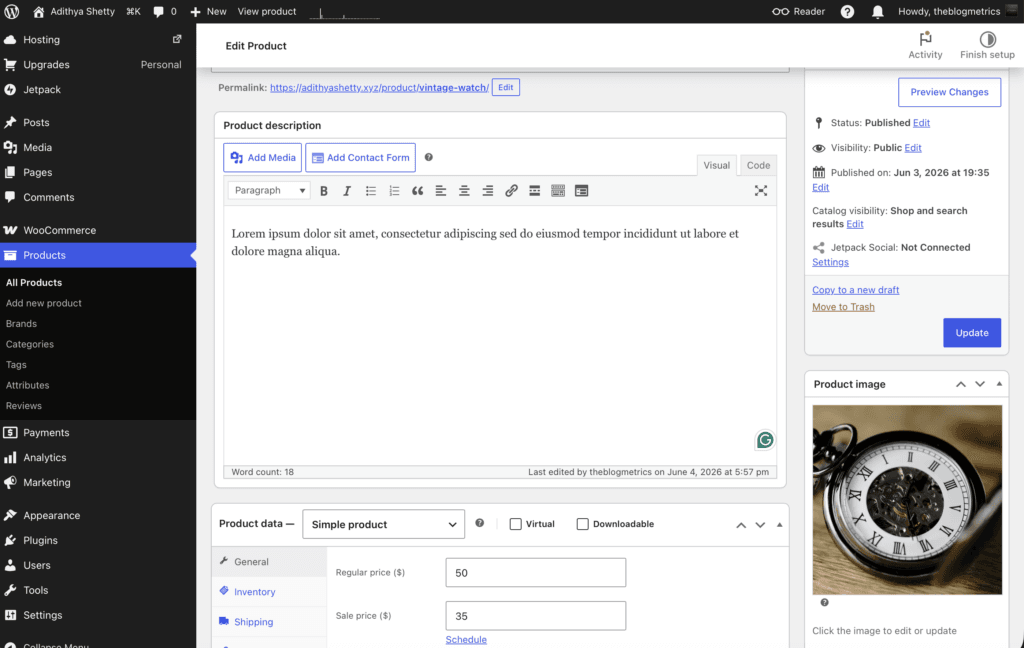
On this page, you can list products that you would like to sell, enter the price, product description, Inventory, Shipping details, photos of the product, etc.
You can list an unlimited number of products to sell on your store.
Set up payments
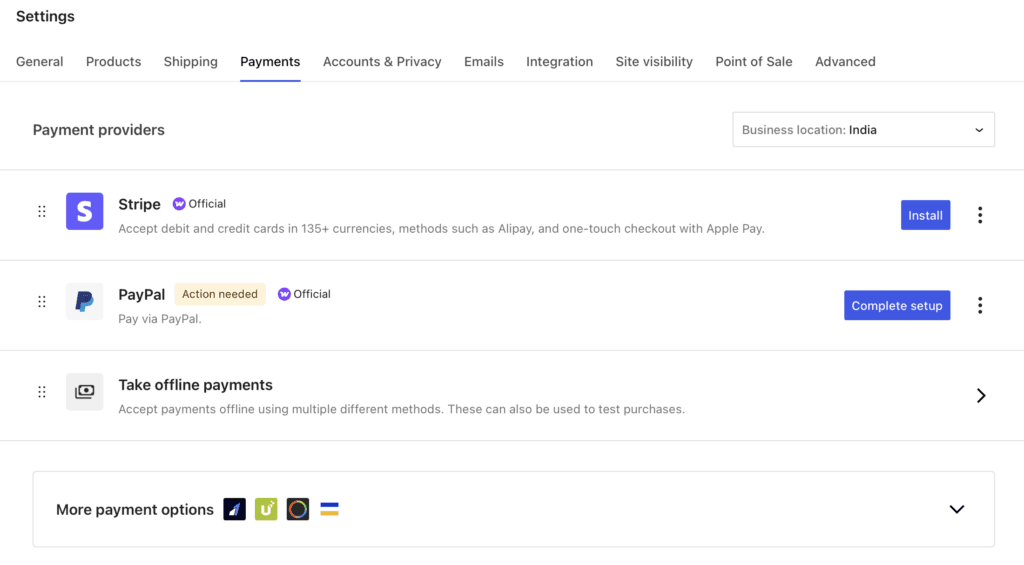
Now it’s time to set up a payment system for your eCommerce store.
Here you’ll find several payment options that you can set up to collect payments from your customers. Choose the one that’s supported in your country that you find useful.
Customize your store
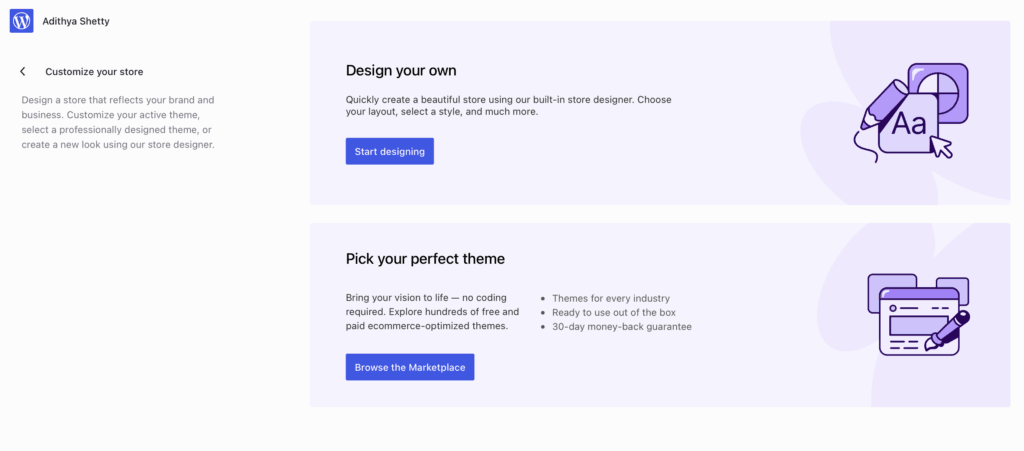
It’s time to customize your store. Here you can also select a new theme from the WooCommerce marketplace, but since I’ve already picked a suitable store theme, I will click on Start designing.
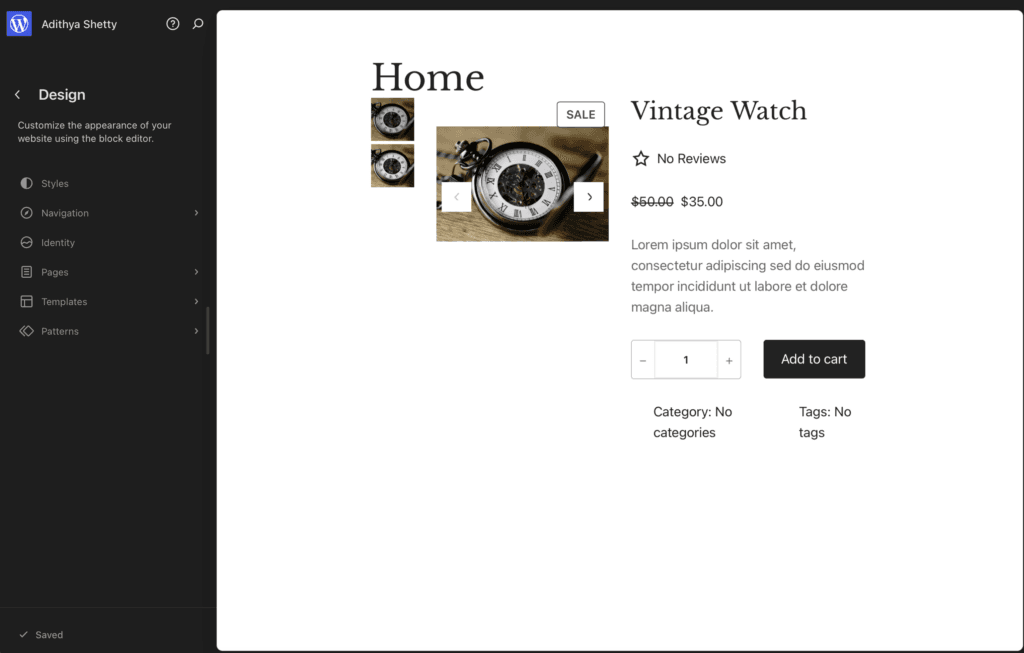
On this page, you can customize Styles, Navigation, Templates, etc. I’ve created a Homepage to display products on the front of my website.
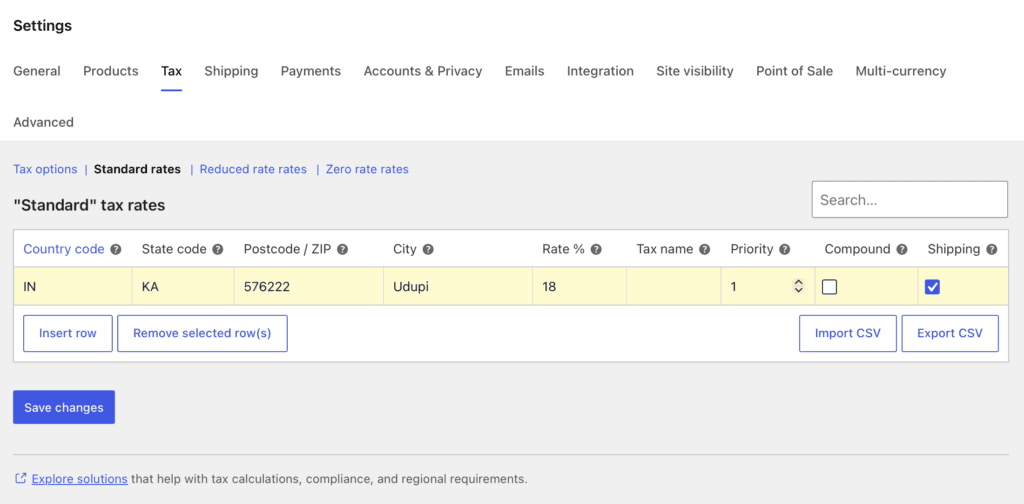
Collect sales tax

In the WooCommerce settings, you should enter the required information to collect tax.
Launch your store
Since we have already added the domain at the beginning, the only step left is to launch your site. On the WooCommerce Home, click on the Launch your store option.

That’s it. A beautiful minimalist eCommerce store setup is complete. Now your customers can browse, add products to the cart, and purchase your products.
Conclusion
Above, I’ve shown the easiest method to start an eCommerce Store on WordPress.com; while there are many other advanced settings left to explore, I’ve created this tutorial for beginners who want to get started.
Although there are other eCommerce platforms like Shopify to start your online store, the basic plan of Shopify costs $39 per month, compared to $9/mo with WordPress.com.
Apart from a little learning curve, WordPress.com offers a flexible and affordable solution for those who like to sell products online.
FAQs
Does WordPress.com offer a free domain?
Yes, WordPress.com offers a free domain for the first year.
What’s the refund policy of WordPress.com?
WordPress.com annual or higher plans are refundable within 14 days of purchase, and monthly plans are refundable within 7 days of purchase.
