
I may earn commission if you use my affiliate links to purchase products: More details.
A photography website will be a great place to display your work and gain exposure. It doesn’t matter whether you’re a professional photographer or a hobbyist.
There are many website builders, AI tools, and open-source solutions to build a photography website, but today, I will be using WordPress.com to build one.
There are two types of WordPress: one is WordPress.org, and the other is WordPress.com. WordPress.org is an open-source CMS software that you install on your own server to create a website. While WordPress.com is a private company that offers both the core website builder software and hosting.
The good thing about WordPress.com is that you don’t have to worry about any technical aspects of hosting, server, software updates, and security; it takes care of everything.
Table of Contents
Why build a Photography website?
There are a few good reasons why I think you should build a Photography website:
Portfolio
If you’re a professional photographer, a website can be a great place to showcase your work Portfolio. It can also help you gain new clients and sell your photos or posters.
Although I don’t have a dedicated Photography website since I’m not a photographer, I do have a gallery section on my website to display some of my clicks.
Control on your platform
Unlike third-party platforms like social media or photography websites, where you have zero control and ownership, building a website helps you have full ownership and control of your platform. You also don’t have to rely on social media algorithms.
It also helps to increase visibility and brand value on Google or other search engines when people search your name.
You can also control the resolutions of the photos that you can upload to your website. This helps to prevent people from misusing your RAW image files.
Gain subscribers
With a website, you can also setup a email newsletter to build a subscriber list. People who like your photography or work can subscribe by signing up for your newsletter using their email.
A website also allows you to set up and integrate a contact form, booking form, or payment gateway.
Earn directly
You can sell photos, posters, or a digital version of your work directly from your website to earn a passive income without having to rely on other platforms, which might take a commission cut on sales.
Here you get to keep 100% amount on the sales you make.
Reasons to build a website on WordPress.com
While there are quite a few website builders, traditional and modern AI tools like Wix, Squarespace, Replit, etc, WordPress.com offers a complete solution and has been serving the industry since 2005.
Simple Pricing
WordPress.com offers a simple four main plans suitable for everyone:
The base Personal plan starts at $9 per month or $4/mo if paid annually. The Premium plan is at $18 per month or $8/mo on an annual purchase.
Business plan starts at $18 per month or $8/mo on the annual payment. A Commerce plan that’s most suitable for an eCommerce website starts at $70 per month or $45/mo annually.
Hosting
There are no extra charges to host your website on WordPress.com; you will get from 6 GB to 50 GB of storage based on your selected plan. The Business and Commerce plan allows you to purchase additional storage as per your needs.
Free Support
New AI website builder tools might not offer customer support to the custom website you build on their platforms, but since the core WordPress website software is maintained and updated by the WordPress.com team, they’ll be able to help you with most of the issues.
All paid plans come with free customer support. And the Business and Commerce plan comes with 24/7 priority expert support.
Creating a Photography website on WordPress.com (Beginners’ Guide)
Let’s start building a Photography website on WordPress.com.
Create an account
Visit WordPress.com and click Get started. A page will open up where you can choose a method to sign up.
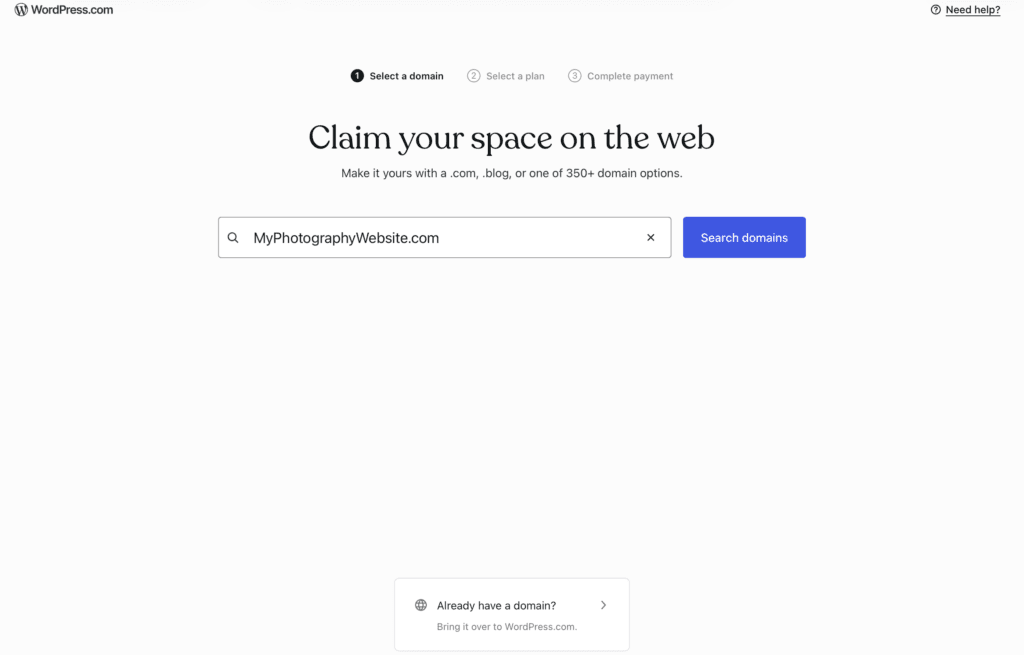
On the next page, you can search and choose a domain name to register or use an existing domain name by clicking the option below.
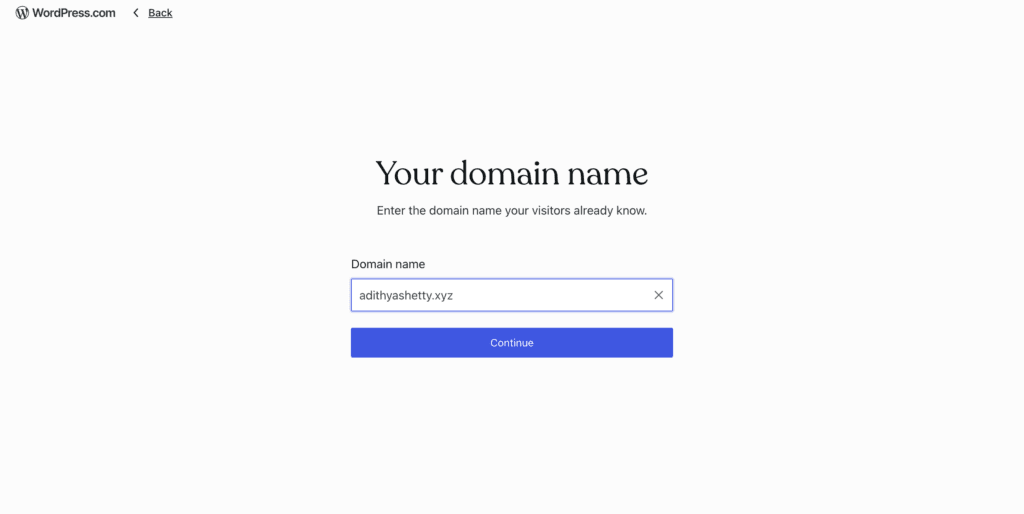
Since I already own a domain name, I’ll be using it here for demonstration

Now, click on ” Connect your domain name. A pricing page will open up, select a suitable plan as per your needs.
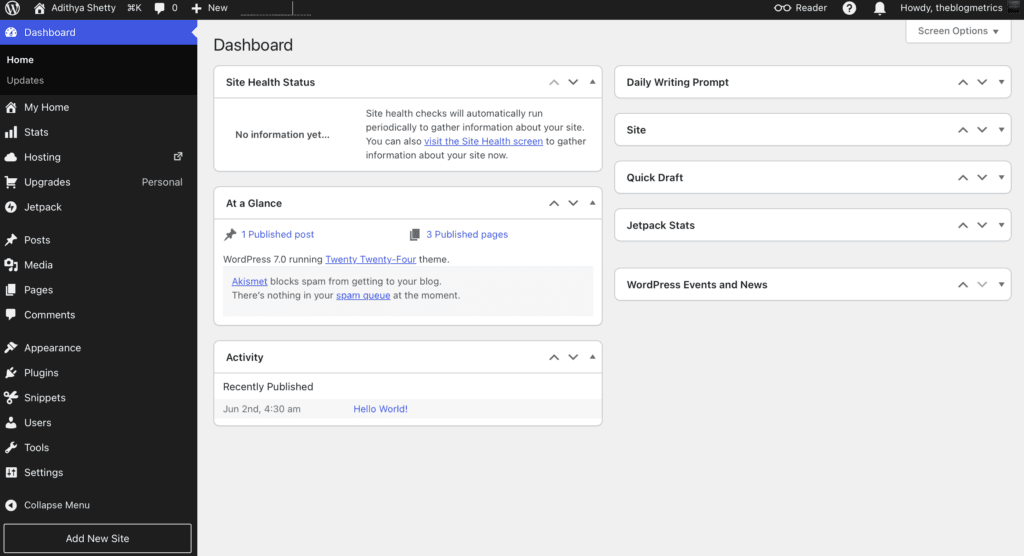
Once you have purchased the plan, you can log in to your WordPress dashboard, which will look like the above screenshot.
Connecting your domain name
It’s time to connect your domain name with WordPress.com. To do that, you need to update WordPress.com’s name servers on your domain registrar.
My domain is registered with NameCheap, so I’ll be updating the name servers with it.
To find the name servers, click on Domains from the right corner of your WordPress dashboard, then click Manage DNS.
On the next page, click on Update your name servers now.

Here, you’ll find three name servers that you have to copy and paste it on your domain registrar.
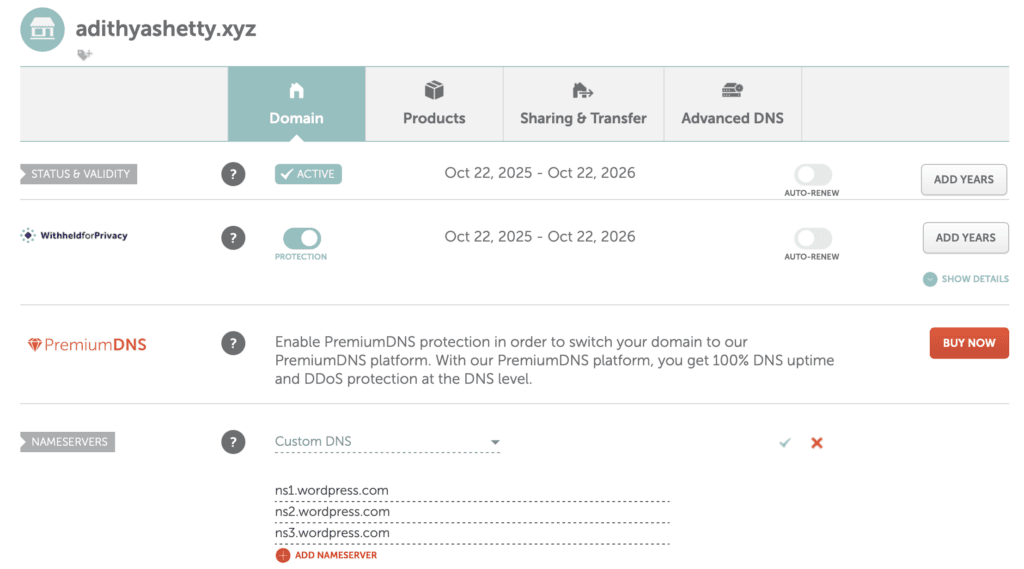
As shown in the above screenshot, you can add your WordPress.com name servers to the custom DNS field.
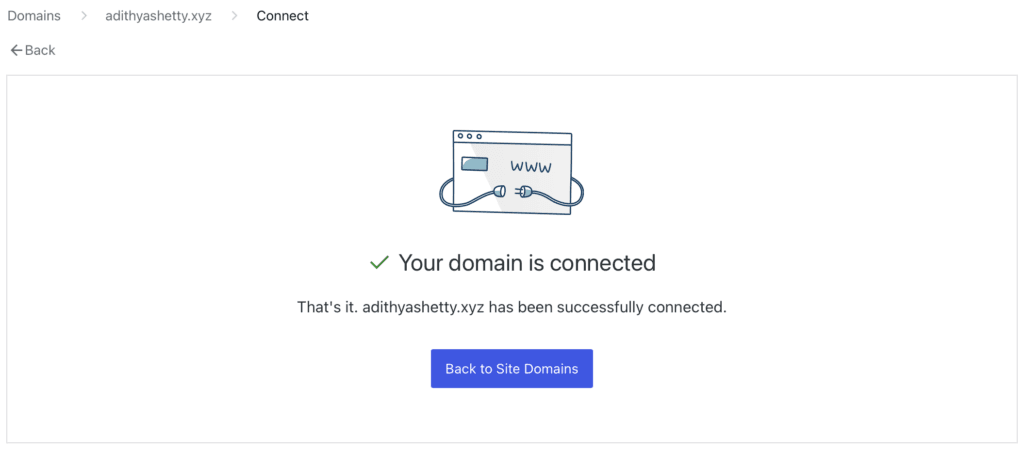
Once you have added your name servers, come back to the WordPress domains dashboard and click Verify Connection. You’ll get the above message once connected.
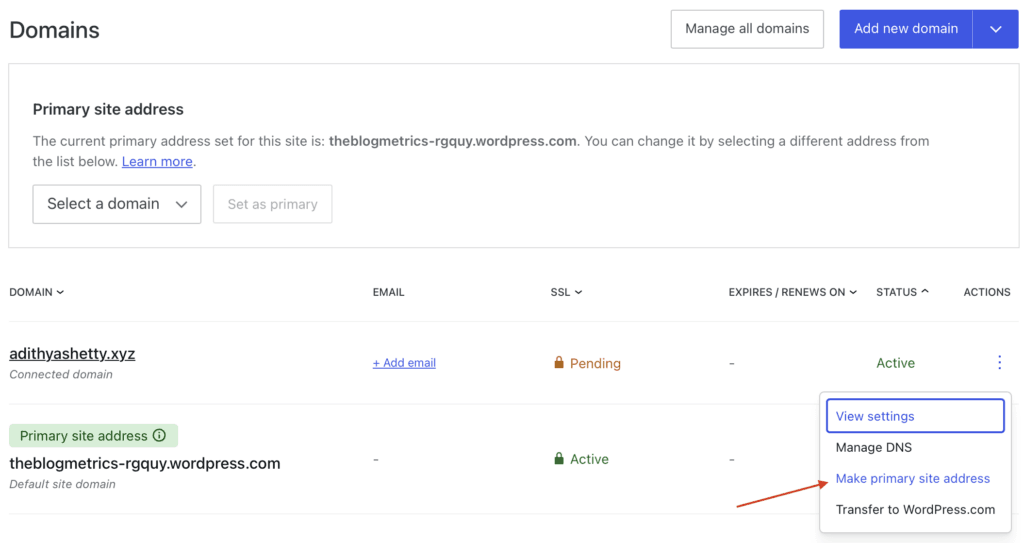
Now that your domain is connected, you have to make that site the primary address. Click on the three dots, and click Make primary site address on the Domains option.
Installing a Photography theme
Now it’s time to install a suitable Photography theme that makes things easier. You can find thousands of free and premium themes on the WordPress directory.
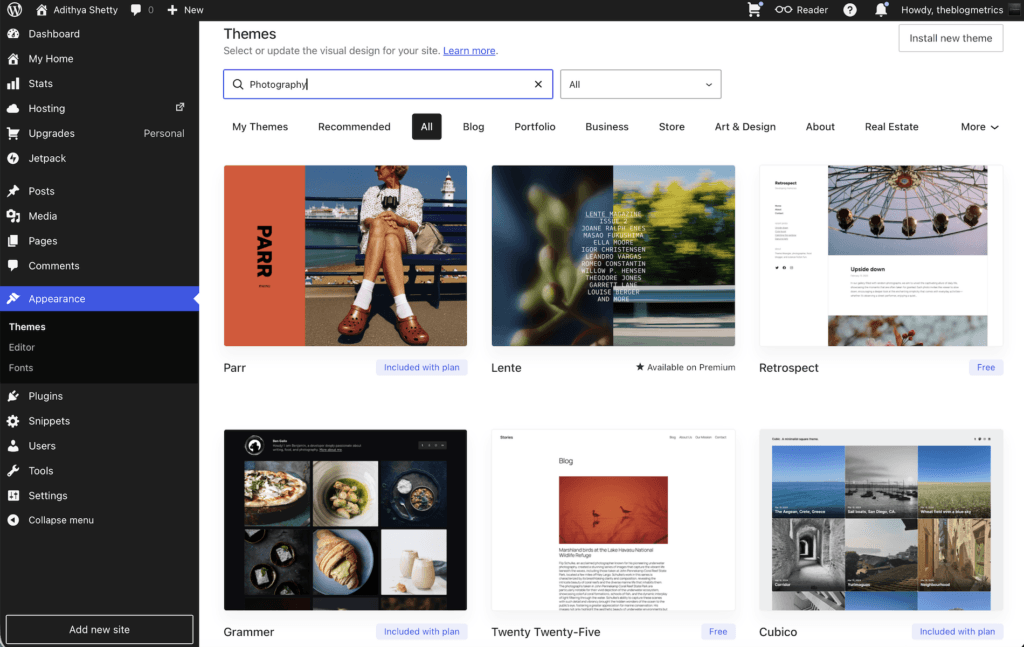
Type Photography in the search bar to find a suitable theme. I will pick the theme called Grammar, which is included in my plan.
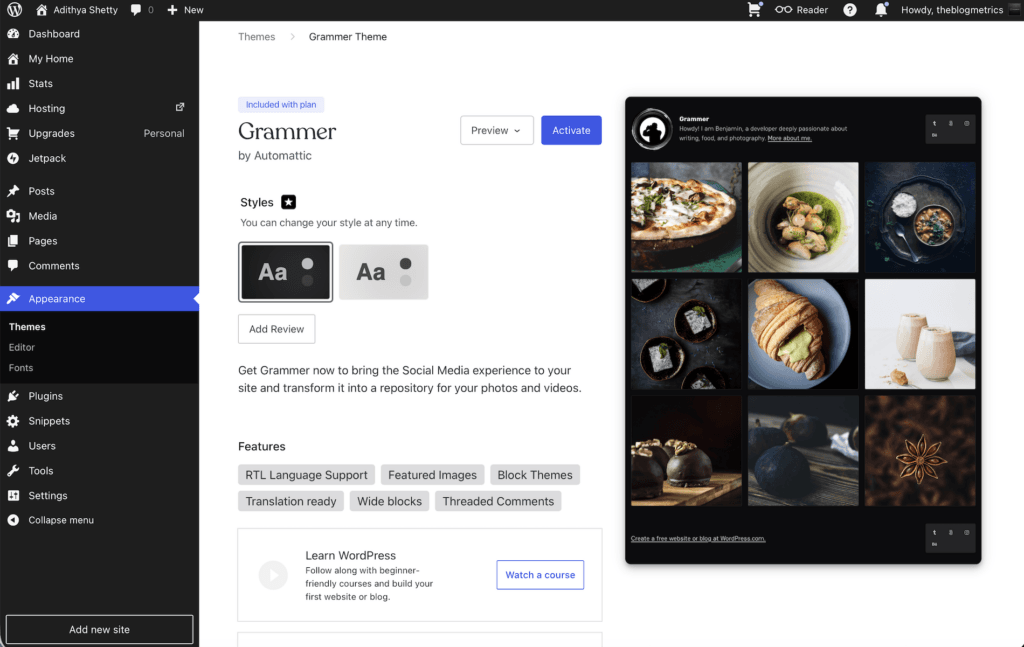
Now click on Activate.
Next, click on Customize site to edit the homepage.
It’s time to add some of your photos and edit the default texts.
Adding Photos
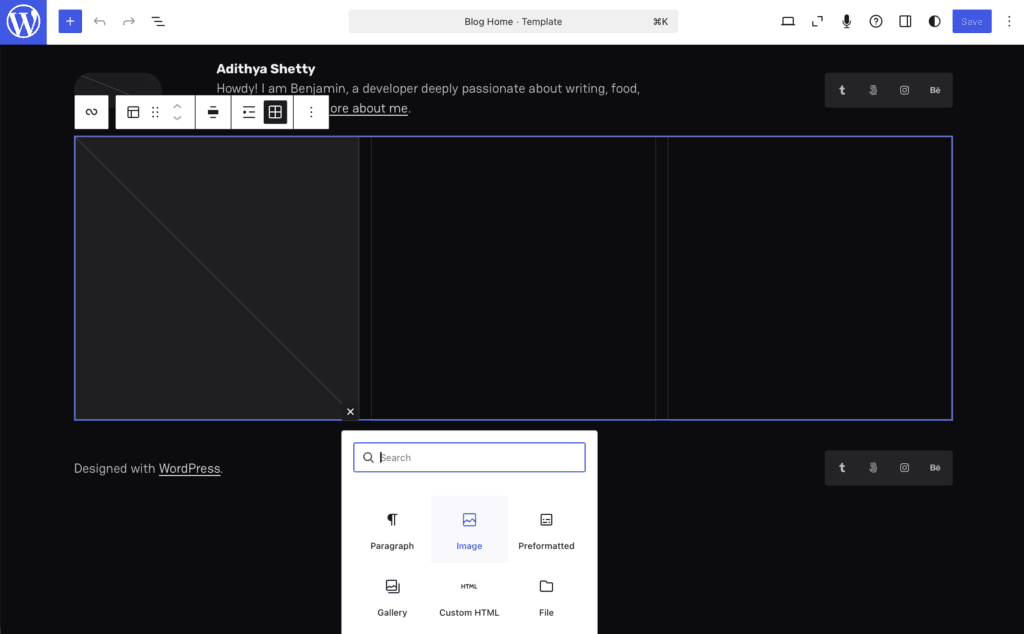
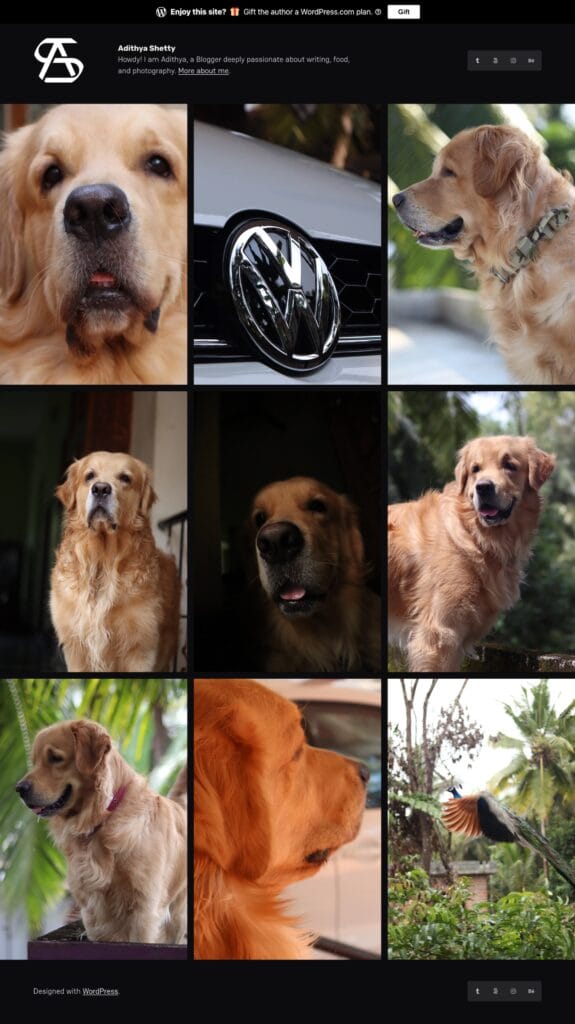
Click on the + button to add a block, then select an Image option. Here you can upload your photos in a grid style.
Or search for a Gallery block to select multiple images at once.
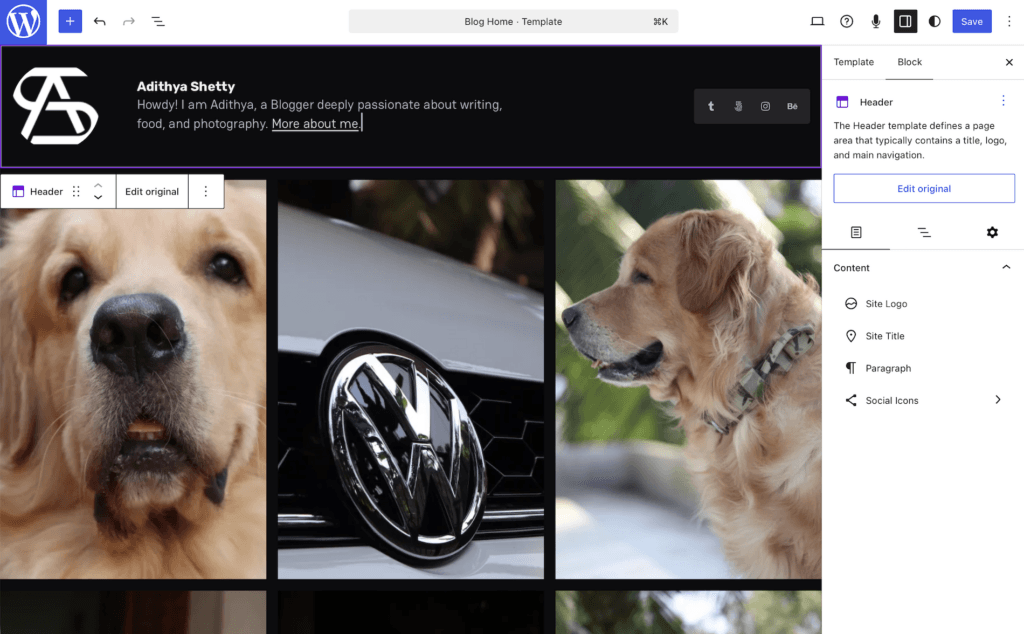
You can edit text, add a logo, your social media links to icons, etc. Once everything is set, click save.
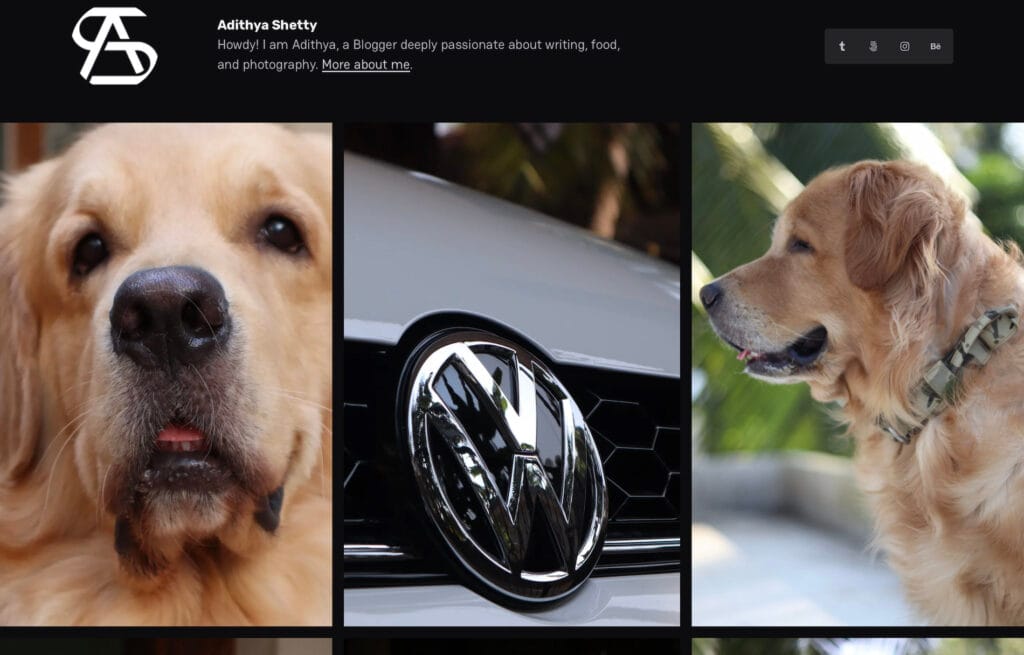
Your Photography website is almost ready.
Adding a page
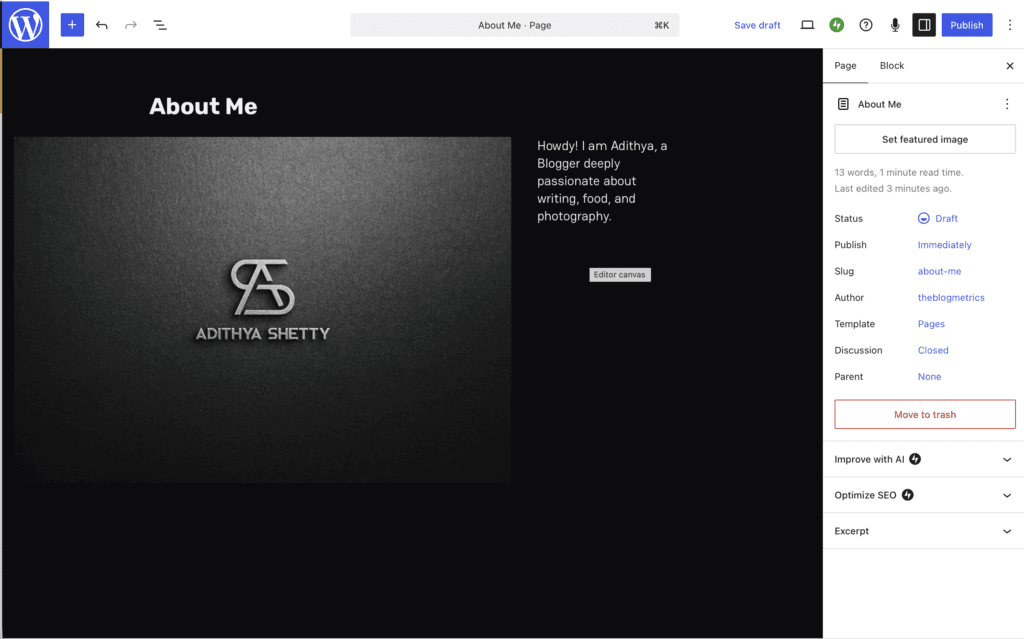
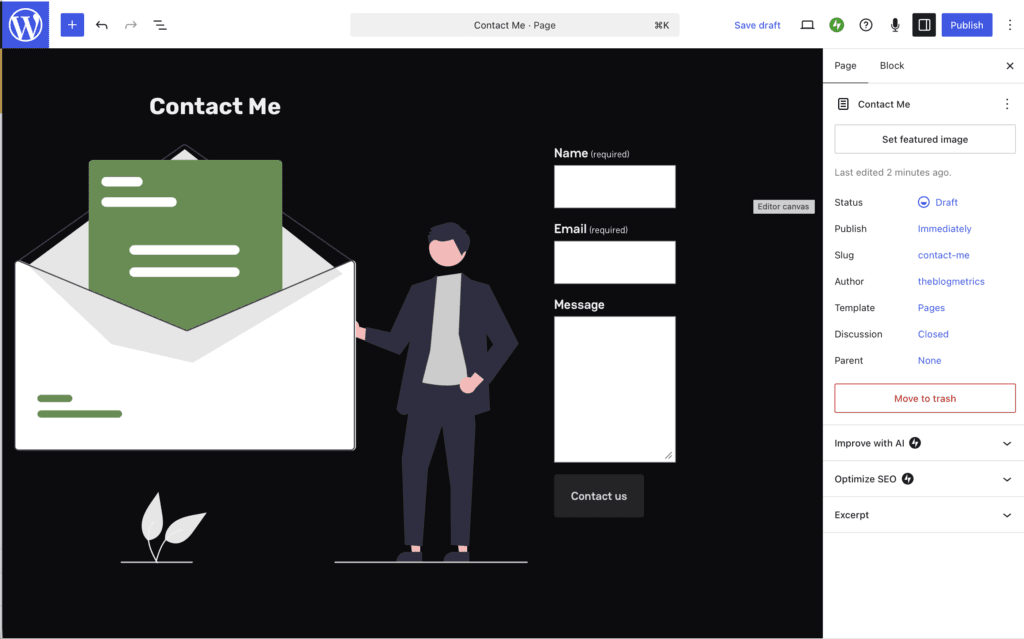
Let’s add a new page; on the right side of the WordPress dashboard, hover over Pages>Add Page.
The WordPress Gutenberg block editor will open up. Here, you can create any pages like the About page, Contact page, Portfolio page, etc.
That’s it! You just created a stunning Photography Website with WordPress.com.
Conclusion
In this article, I’ve shown you the beginner’s guide to creating a Photography Website with WordPress.com. With WordPress, you can build any type of website, such as a portfolio, Real Estate, e-commerce, etc. They do offer a 7-day refund on monthly plans, so you can test their platform without risk.
I do recommend WordPress.com for its all-in-one solution for beginners. However, there are some limitations on plugins and themes for base plans. You can read my complete review here to understand the pros and cons of it.
